Arrive with a plan you can abandon
Check access hours, closures, weather, and the route before leaving. Tell someone your plan when the outing warrants it, and allow enough time to return safely. Good light does not justify entering a closed area, exceeding your experience, or staying when changing conditions make the route unsafe.
Set a reasonable starting exposure and focus mode before reaching the observation area. Use a harmless distant object to check the camera. Secure loose straps and arrange your bag so that opening it will not scatter equipment. The aim is to reduce hurried movements when your attention should be on the surroundings.
A plan is a convenience, not an entitlement. If a resting animal occupies your intended viewpoint, choose another viewpoint or leave. If the encounter remains distant, an environmental image may tell the story better than a tightly cropped portrait.
Choose a considerate position
Stay on permitted surfaces and avoid blocking paths or escape routes. Look at the foreground and background before shifting position: a small movement may simplify the frame, but it may also take you into fragile vegetation or closer to an animal. A cleaner background is not worth an intrusive approach.
Keep your movements slow and predictable without treating stealth as permission to close the distance. Hides and blinds can be useful where the land manager authorizes them, but entering, leaving, and occupying them still require care. Follow local instructions rather than assuming every purpose-built structure is suitable at every time.
Do not move vegetation, reposition an animal, or manipulate a perch for documentary appearance. When a branch obscures the subject, accept the obstruction, change framing from a lawful position, or wait. Habitat is part of the encounter, not a defect that the subject must help you remove.
Balance motion, depth, and brightness
Shutter speed affects motion blur. Aperture affects light entering the lens and, along with distance and focal length, the depth that appears acceptably sharp. ISO changes the camera’s signal handling and the brightness of the resulting image; increasing it may make noise more visible. These controls involve trade-offs rather than one correct wildlife setting.
Start with a shutter speed suitable for the movement you can see. A resting animal and a bird in flight need different decisions. Check your result at a useful magnification and adjust. Stabilization can help with camera movement, but it cannot freeze a moving subject during a long exposure.
In bright or backlit scenes, check the histogram and highlight warnings if your camera provides them. A histogram summarizes image tones, not whether the composition works. Avoid losing important bright detail when it matters to identification or texture. Some shadows may remain dark; lifting every shadow is not a requirement for an honest image.
Use available light rather than adding flash, lamps, or other stimuli around wildlife. This guide does not recommend artificial-light techniques for animals. Low light may mean accepting blur, recording a habitat view, or putting the camera away.
Build a watch–photograph–watch rhythm
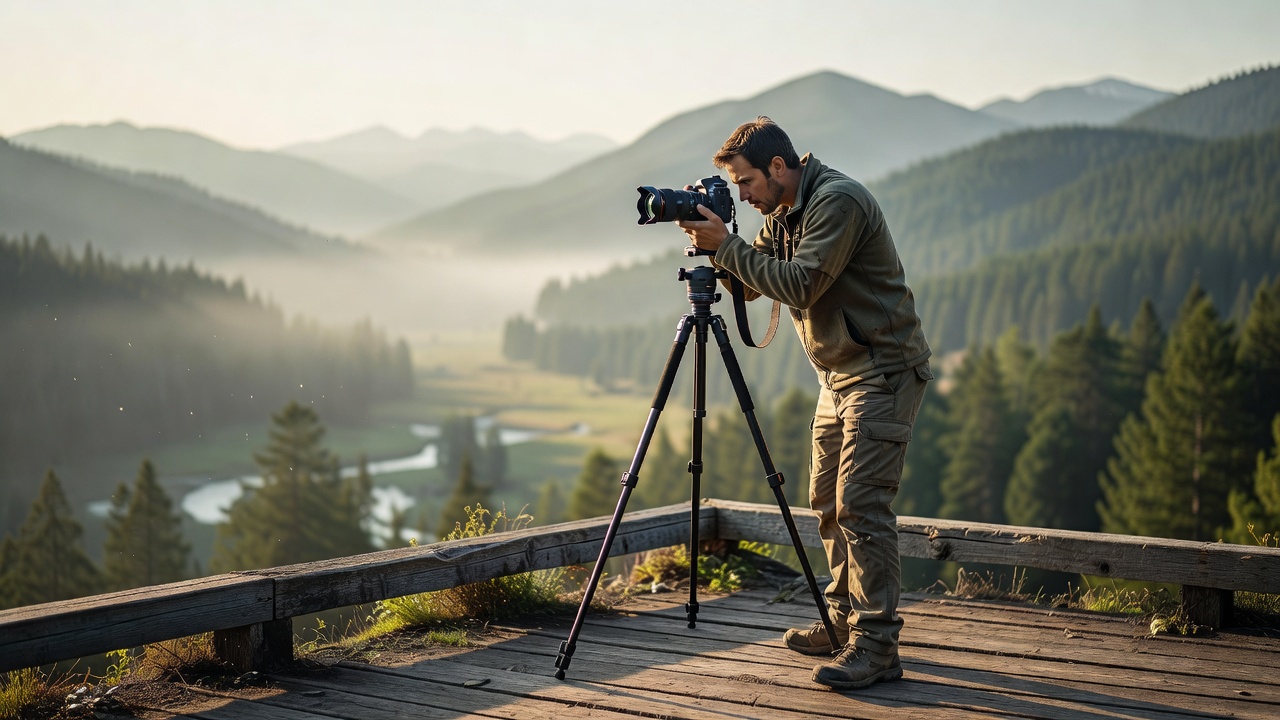
Look beyond the viewfinder regularly. A tightly framed subject can conceal an approaching animal, a change in the group, or a visitor trying to pass. Make a short sequence, lower the camera, and reassess the scene. If behavior changes, respond to that before reviewing sharpness.
Choose focus areas deliberately. A large automatic area may find the subject quickly but select foreground vegetation; a smaller area can be precise but harder to keep on movement. Practise both away from wildlife. No focus mode removes the need to judge whether continuing the encounter is appropriate.
Avoid long image-review sessions in a sensitive spot. Take a brief technical check, then step away before doing detailed selection. Note why the session ended, especially if you withdrew after a possible sign of disturbance.
Keep the edit accountable
Preserve original files and work on copies. Basic exposure, color, and crop adjustments can improve readability, but documentary captions must not imply conditions that were absent. Removing a fence, adding an animal, or combining moments changes the evidential meaning of a photograph. Clearly label creative composites and do not submit them as unaltered records.
Check a project’s image rules before submitting. Some workflows need original files or restrict processing. Include the date, a suitable location description, and relevant context, such as a managed setting or captive subject. Remove sensitive public location details while retaining an appropriately protected original record.
Your final selection should represent what you observed, not merely what looks most dramatic. An ordinary image with reliable context can be more useful than a spectacular frame with an uncertain story.
Reference checks
- Audubon’s ethical photography guidance: disturbance-aware decisions around birds.
- National Park Service photography information: check the relevant park for access and activity requirements.
- Your camera manual: verify focus behavior, histogram display, stabilization limits, and shutter options for your model.